It’s been a long while since I last posted an update… I’m a bad blogger! Apologies for the radio silence, I have been super focused on getting my bachelor’s degree in biology at the end of the semester. Despite of being busy nine to five (actually 5:30), I have been getting lots of things done! One of those things is the custom Proud Arab Mare that I started last year. I thought it would be fun to share in-progress pictures of her from start to finish, and also share some handy tips.
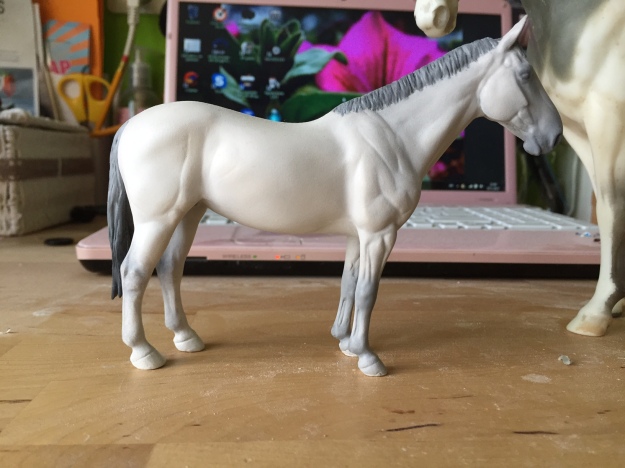
If you remember, she started out headless and earless. Her head got attached in a new position by removing the plastic neck, and inserting wires into her head and withers to form the ‘skeleton’ of the neck. After that, the wire was covered with painters’ tape, and the shape of the neck was also cut out of painters’ tape. I then added blobs of Aves Apoxie on top of the tape to shape the neck further (you can still see a bit of white tape sticking out fro her neck). Gamila was then left to dry overnight so the clay could harden.
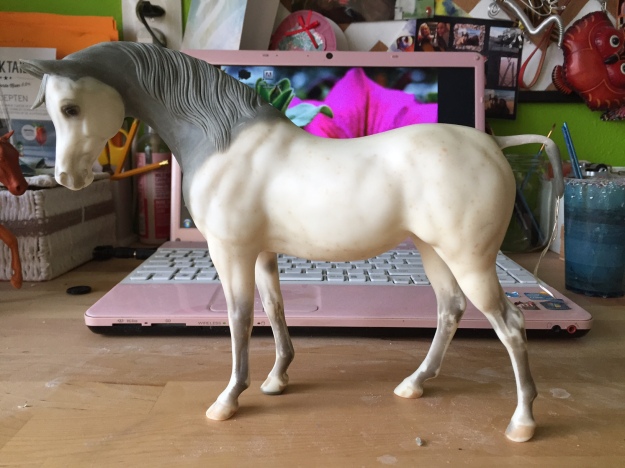
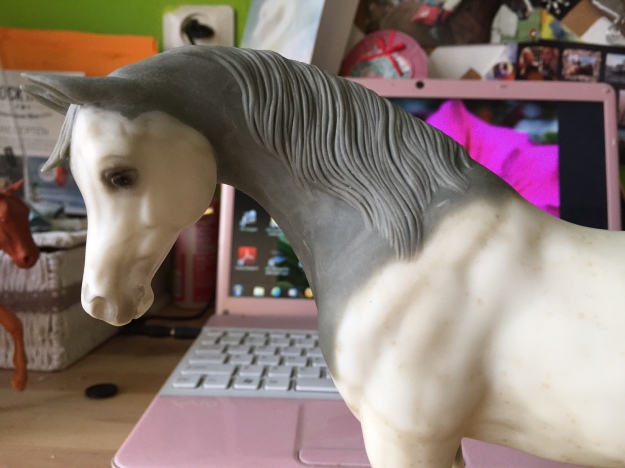
Later, I sculpted her neck muscles, as well as her ears. I tried sculpting her ears the same size as her OF ears, but decided to make them a bit more feminine. I actually attached the ears to to head with superglue + baking soda, after the clay had hardened. I then sculpted the bits that attach the ear to the head on a real horse. I also added the mane and forelock.
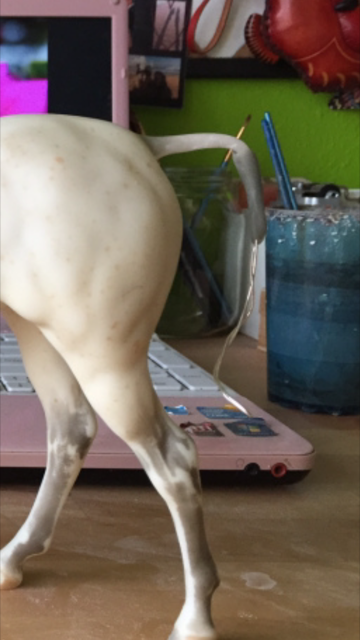
I also glued two wires into the hole that her OF tail left. These wires were then covered in superglue + baking soda, and the rest of the hole was filled up with that too. This made a very strong base for the tail that I was going to sculpt.
I also added some blobs of apoxie sculpt on the wire to get the basic shape of the tail, and to build a base to sculpt the rest of the tail on top of. At this point, I left Gamila’s apoxie to harden overnight.
The next day, I added even more blobs of apoxie sculpt on top of the base. At this point, I try to add in the basic shape and thickness of the tail (although I leave it a little bit less thick than I want it to be eventually, because I will be adding more clay on top of this layer later). Again, Gamila’s clay was left to dry overnight.
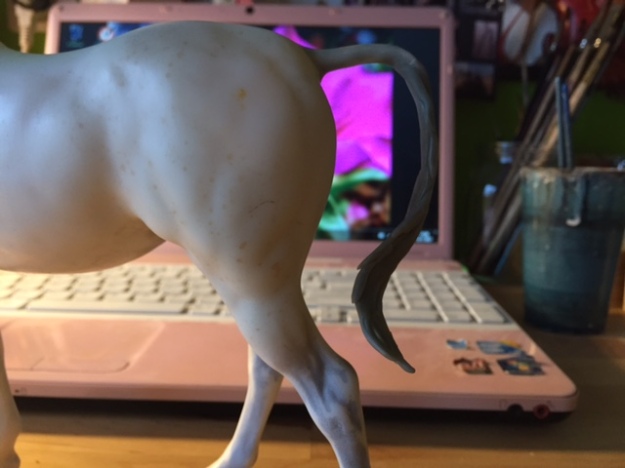
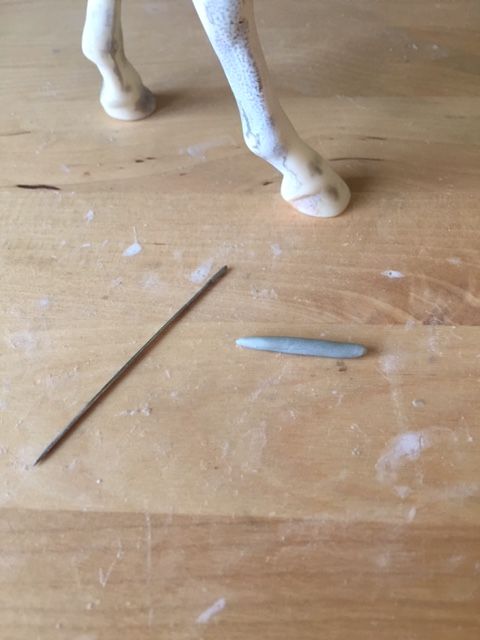
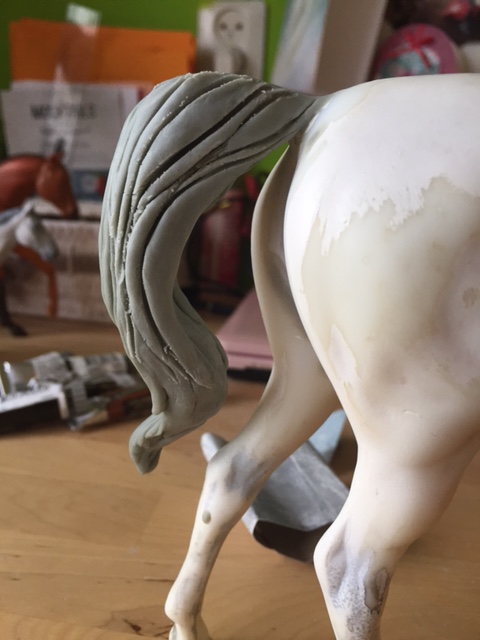
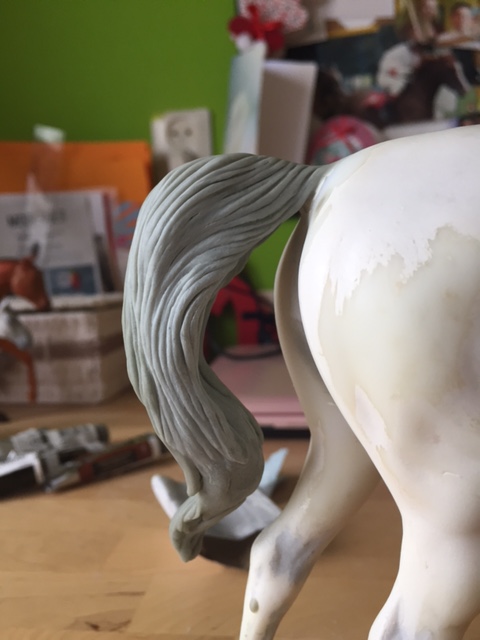
Then it was time for the really fun part of sculpting, adding the actual hair detail! To sculpt this tail, I used only a thick needle, my hands, and an old paintbrush (to smooth the clay). I generally make lots of small rolls of apoxie sculpt (see photo below), and stick those on top of the tail in the direction that the hair is flowing. Then smooth it all out with some water and my fingers, and I’m ready to get going on the hair detail!
First, I push my needle into the clay to sculpt the general direction of the hair flow. I really push the needle pretty hard into the clay, to get deep groves. I don’t worry about putting any detail in at all at this stage, since I will smooth nearly all of it out again.
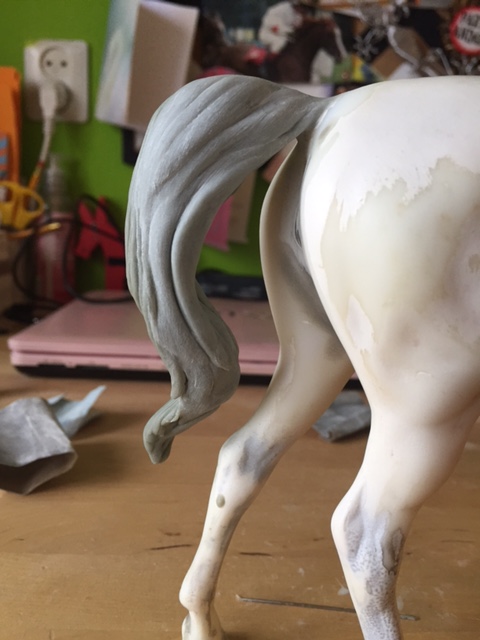
To smooth it, I wet my old paintbrush with water, and press/drag it along the tail. This leaves me with a nice smooth hair flow on the tail.
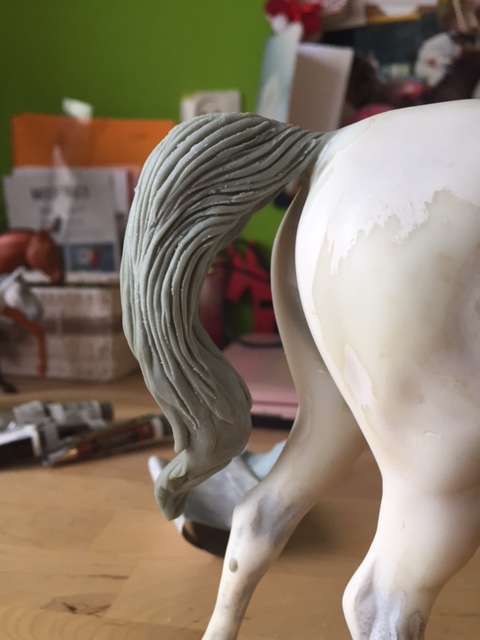
I then start sculpting in more detail, again using only the needle.
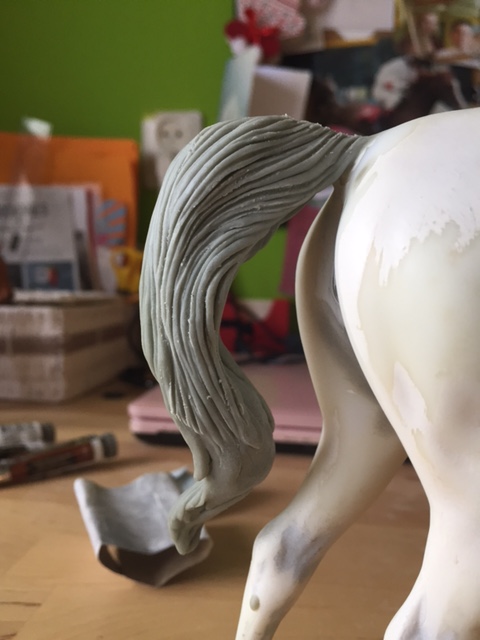
Then I smooth the grooves down again.

I actually keep repeating the cycle of sculpting and smoothing until I’m satisfied with the amount of detail in the tail. I try to be careful with how much water I use during smoothing though, as Apoxie sculpt can fall apart during sculpting when you use too much!
Finally, when I’m done (this is usually after 1-2 hours), I leave Gamila to dry. I only sculpt half (or less) of the tail in one go, because I want my Apoxie sculpt to be workable (and because I would surely smoosh some parts by accident if I try to do it all in one go).
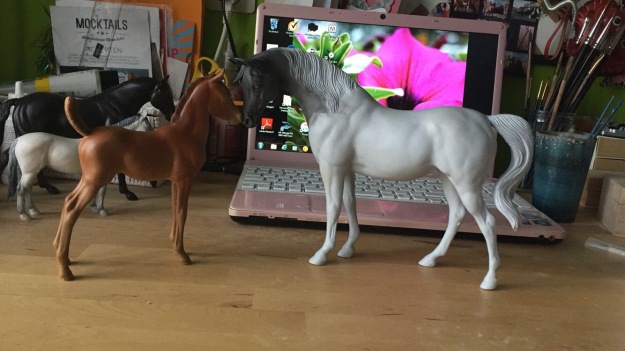
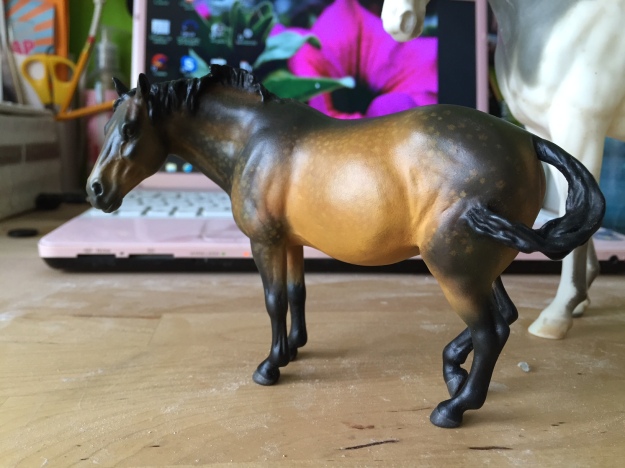
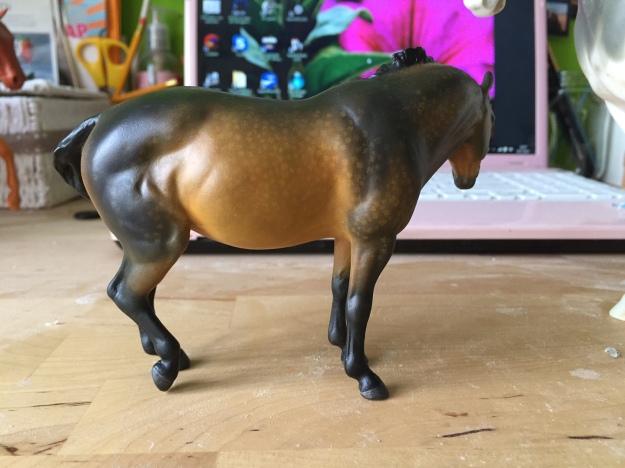
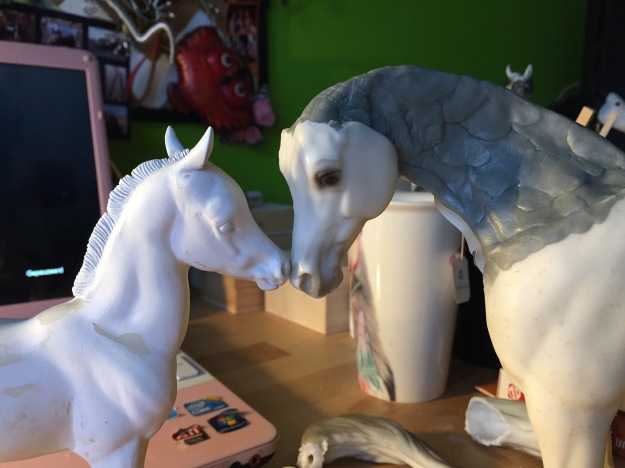
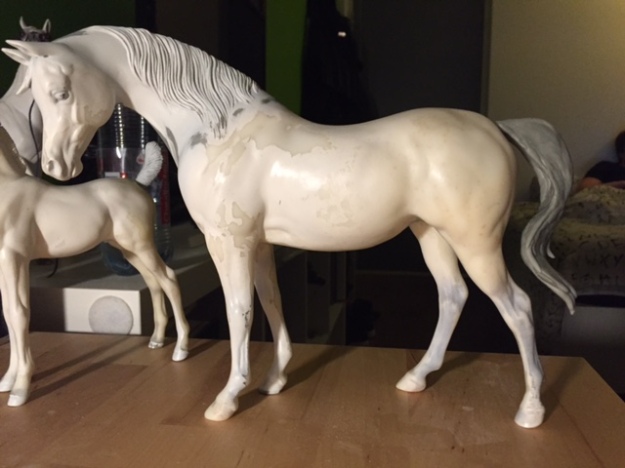
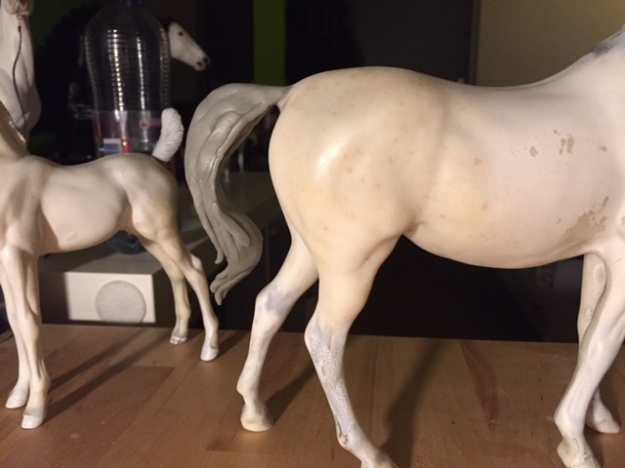
And after all that, it’s on to painting! (But that’s for another post). Here is a sneak peek of Gamila with her foal.